The Outlook Mobile App does not support the email recall feature. Users can only recall emails using the desktop version.
Email recall is a handy feature in Microsoft Outlook, allowing users to retract sent emails. This capability is useful for correcting mistakes or retrieving sensitive information.
While the desktop version of Outlook offers this feature, the mobile app lacks it.
Users must rely on the desktop version to recall emails. This limitation highlights the differences in functionality between mobile and desktop versions. Understanding these distinctions can help users manage their email communications more effectively.
Adapting to these features ensures smoother, more efficient email usage. Always double-check your emails on mobile to avoid the need for a recall.

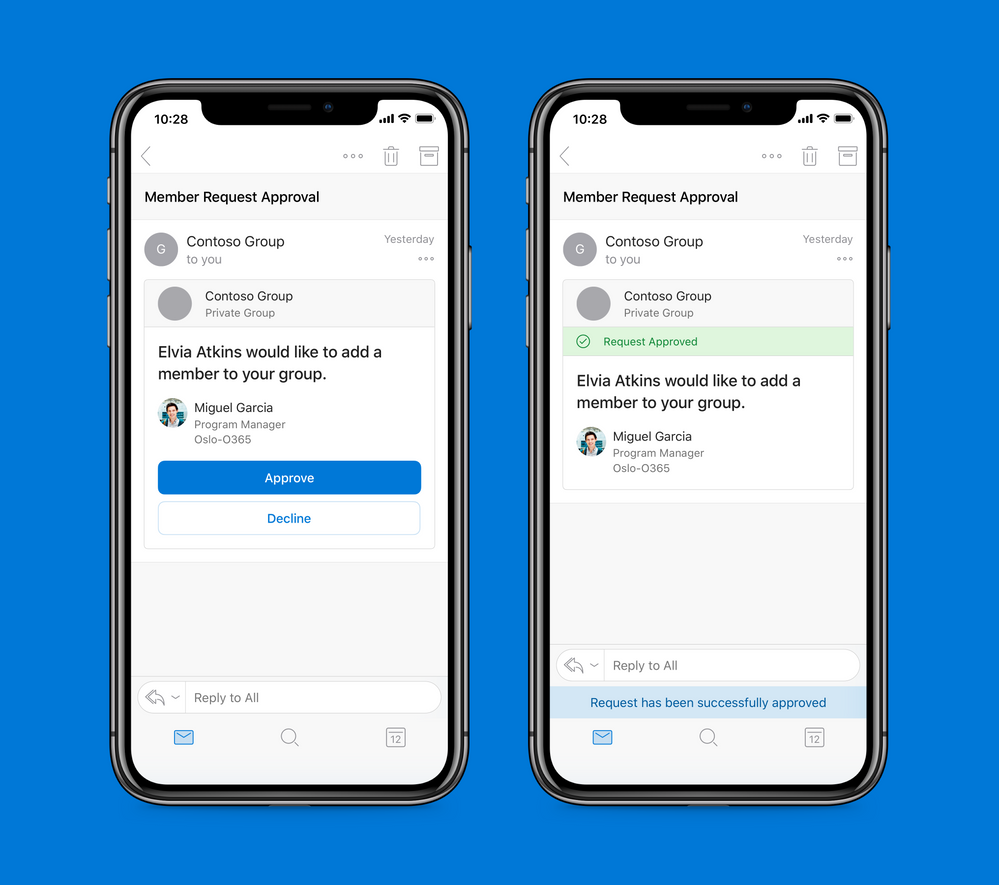
Credit: m.youtube.com
How To Recall Email Outlook Mobile App Android
Recalling an email in the Outlook mobile app on Android involves navigating to the Sent Items folder. Select the email you wish to remember, tap on it, and choose the recall option if available.
Email mistakes happen to the best of us. Fortunately, you can recall emails in Outlook’s mobile app for Android. Here’s how to do it efficiently.
Understanding The Recall Feature
The recall feature allows you to undo sending an email. However, it only works under certain conditions:
- Recipient’s email server: The recipient must be using Outlook or Exchange.
- Unread emails: The email must not have been read.
- Same organization: Both sender and recipient should belong to the same organization.
Steps To Recall An Email
Recalling an email in Outlook’s mobile app for Android is straightforward. Follow these steps to attempt a recall:
- Open the Outlook mobile app: Launch the app on your Android device.
- Go to Sent Items: Navigate to the folder containing your sent emails.
- Select the email: Tap on the email you wish to recall.
- Choose Actions: Tap the three-dot menu icon and select “Recall This Message.”
Common Issues And Solutions
Sometimes, recalling an email doesn’t go as planned. Here are common issues and how to address them:
- Email already read: Recall won’t work if the recipient has already read the email.
- Different email clients: The recall feature is limited to Outlook and Exchange.
- Permissions: Ensure you have the necessary permissions to recall emails.
Best Practices For Using Email Recall
Maximize your chances of successfully recalling an email by following these best practices:
- Act quickly: The sooner you attempt the recall, the better.
- Use clear subject lines: Make it easier to identify and recall the email.
- Communicate: Inform the recipient of your recall attempt.
By following these steps and best practices, you can effectively manage email recalls in Outlook’s mobile app for Android.
How To Recall Email Outlook Mobile App Iphone
Easily recall emails using the Outlook mobile app on your iPhone. Navigate to the sent email, select “Recall,” and follow prompts. Ensure quick corrections and avoid potential mistakes.
Ever sent an email and wished you could take it back? With the Outlook mobile app on iPhone, recalling an email isn’t straightforward, but there are ways to manage the situation.
Understanding Email Recall On Iphone
Email recall on an iPhone is a bit different. Unlike the desktop version, the mobile app doesn’t have a direct recall function.
Steps To Take After Sending An Email
After sending an email you regret, quick action is crucial. Here are some immediate steps you can follow:
- Check Sent Folder: Ensure the email has been sent and not stuck in the outbox.
- Send Follow-Up: Quickly send a follow-up email to clarify or correct the mistake.
- Notify Recipient: Call or message the recipient to explain the situation.
Using Undo Send Feature
Outlook mobile app for iPhone has a built-in Undo Send feature. This feature can help you retract an email within a few seconds of sending:
- Enable Undo Send: Go to Settings and turn on the Undo Send option.
- Use Undo Send: After sending an email, you’ll see an Undo option at the bottom. Tap it immediately.
Best Practices To Avoid Mistakes
Practicing good email habits can reduce the need for recalls. Here are some tips:
- Double-Check Recipients: Ensure you’re sending to the correct email addresses.
- Review Content: Proofread your email for errors and clarity.
- Save Drafts: Save important emails as drafts and review them later.
Alternatives To Email Recall
If recalling the email isn’t possible, there are alternatives to mitigate the situation:
- Issue an Apology: Send a sincere apology if the email contained incorrect information.
- Provide Correct Information: Follow up with the correct details promptly.
How To Recall Email Outlook Mobile App Ios 10
To recall an email in the Outlook mobile app for iOS 10, open the sent email and select “Undo Send. ” Ensure quick action, as the recall option appears briefly after sending.
Picture this: you’ve just sent an email from your iPhone using the Outlook Mobile App, and you realize there’s a mistake. Panic sets in.
Fortunately, there’s a way to recall that email. Let’s dive into how you can do this on iOS 10.
Steps To Recall An Email
To recall an email on the Outlook Mobile App for iOS 10, follow these steps:
- Open the Sent Items folder: Locate the email you want to recall.
- Select the email: Tap on the email to open it.
- Tap the options menu: Look for the three-dot menu icon.
- Choose Recall This Message: Follow the prompts to complete the recall.
Limitations And Considerations
It’s essential to be aware of the limitations and considerations when recalling emails:
- Recipient’s email client: The recall feature works only if the recipient is using Outlook.
- Timing: The recall attempt must happen before the recipient opens the email.
- Internet connection: A stable connection is necessary for the recall to work.
Alternatives To Recall
If recalling the email isn’t possible, consider these alternatives:
- Send a follow-up email: Apologize and provide the correct information.
- Use email delay features: Schedule your emails to avoid immediate sending and reduce mistakes.
How To Recall Email Outlook Mobile App Android
To recall an email in the Outlook mobile app for Android, open the Sent folder and select the email. Tap the three-dot menu and choose “Recall this message” to undo the send.
Recalling an email on the Outlook Mobile App for Android can be a lifesaver. Whether you sent an email by mistake or need to make a quick edit, knowing how to recall it is essential.
Accessing The Sent Items Folder
Start by locating the Sent Items folder:
- Open the Outlook Mobile App: Ensure you are logged in.
- Tap the menu icon: Usually found at the top left corner.
- Select “Sent Items”: This will open the folder with all your sent emails.
Finding The Email To Recall
Next, identify the email you wish to recall:
- Scroll through Sent Items: Look for the specific email.
- Use the search bar: Type keywords related to the email to find it quickly.
- Tap on the email: Open the email you intend to recall.
Attempting The Recall Process
After finding the email, you can attempt to recall it:
- Tap the three dots (more options): Located at the top right corner of the email.
- Select “Recall”: This option may vary depending on your app version.
- Follow the prompts: The app will guide you through the recall process.
Checking Recall Status
Finally, verify if the recall was successful:
- Return to Sent Items: Check for a notification about the recall status.
- Look for a confirmation message: It will indicate whether the recall succeeded or failed.
- Check with the recipient: Sometimes, direct confirmation from the recipient is necessary.
How To Recall Email Outlook Mobile App Android Samsung
Recalling an email on the Outlook mobile app for Android involves accessing the sent folder. Tap the email and select “Recall. ” This feature is only available for certain accounts and conditions.
Recalling an email can be a lifesaver, especially when you’ve sent it by mistake. For Android Samsung users, it’s essential to know the steps for recalling an email in the Outlook mobile app.
Steps To Recall An Email In Outlook Mobile App On Android Samsung
Recalling an email on your Samsung device using the Outlook app is straightforward. Here’s how you can do it:
- Open the Outlook app: Launch the Outlook app on your Samsung Android device.
- Navigate to Sent Items: Tap on the menu icon and select “Sent Items”.
- Select the email: Find the email you wish to recall and tap to open it.
- Tap the three dots: Look for the three vertical dots in the top-right corner.
- Choose “Recall this message”: Select “Recall this message” from the dropdown menu.
- Follow prompts: Follow the on-screen instructions to complete the recall process.
Common Issues When Recalling Emails
Sometimes, recalling an email may not work as expected. Here are some common issues:
- Recipient has opened the email: If the recipient has already read the email, the recall will fail.
- Email server settings: Some email servers do not support the recall feature.
- Different email clients: Recalls may not work if the recipient uses a different email client.
Tips For Successful Email Recall
For a successful recall, consider these tips:
- Act quickly: The sooner you attempt the recall, the higher the chances of success.
- Double-check recipient list: Ensure the email was sent to the correct recipient list.
- Use clear subject lines: Make your subject lines clear to avoid confusion.
Alternatives To Email Recall
If recalling an email fails, you can try these alternatives:
- Send a follow-up email: Explain the mistake and provide the correct information.
- Use email delay features: Set a delay for sending emails to catch mistakes before they go out.
- Enable read receipts: Use read receipts to know when an email has been opened.
How To Recall An Email In Outlook Without Recipient Knowing
Easily recall an email in Outlook Mobile App by accessing the sent items folder. Tap the email, select “Recall This Message,” and confirm.
Recalling an email in Outlook Mobile can save you from embarrassing moments or mistakes. It’s a handy feature that many users don’t know about. Here’s a step-by-step guide on how to recall an email in Outlook without the recipient knowing.
Check If Recalling Is Possible
First, ensure recalling the email is an option. Not all emails can be recalled:
- Same Organization: Both you and the recipient must use Outlook within the same organization.
- Unread Emails: The email should be unread by the recipient.
- Server Settings: Your organization’s server settings must allow email recall.
Navigate To Sent Items Folder
To start the recall process, find the email you want to recall:
- Open the Outlook Mobile App.
- Go to the “Sent Items” folder.
- Locate the email you wish to recall.
Open The Email
Accessing the specific email is crucial. Follow these steps:
- Tap the Email: Open the email you want to recall.
- Menu Options: Tap the three dots (menu) in the upper right corner.
- Recall: Select the “Recall” option from the menu.
Choose Recall Options
Once you select the recall option, you’ll need to decide on the recall type:
- Delete Unread Copies: Remove the email from the recipient’s inbox.
- Replace with New Message: Replace the original email with a corrected version.
Confirm The Recall
After selecting your preferred recall option, confirm the action:
- Tap “OK” to initiate the recall.
- Wait for a confirmation message.
Check Recall Status
Finally, check if the recall was successful:
- Notification: Outlook will notify you if the recall was successful.
- Follow-Up: Consider sending a follow-up email if necessary.
This guide helps you recall an email in Outlook Mobile without the recipient knowing. Remember, timing and organizational settings play a crucial role.
How To Recall Email In Outlook App On Mac
Easily recall an email in the Outlook mobile app on Mac by navigating to the Sent folder. Select the email, then choose “Recall This Message” to prevent recipients from viewing it. Stay in control of your communications effortlessly.
Recalling an email in Outlook on your Mac can save you from potential embarrassment or mistakes. It’s a handy feature that allows you to take back an email you wish you hadn’t sent. Here’s how you can do it seamlessly.
Steps To Recall An Email In Outlook On Mac
First, let’s walk through the steps involved in recalling an email using Outlook on your Mac.
- Open the Sent Items folder: Navigate to the folder where your sent emails are stored.
- Select the email to recall: Click on the specific email you want to recall.
- Click on Message tab: Find the Message tab on the toolbar.
- Choose Actions: Click on the Actions button, and then select Recall This Message.
- Decide recall options: Choose whether to delete unread copies or replace with a new message.
- Confirm the recall: Click OK to finalize the recall process.
Potential Limitations And Considerations
Recalling an email isn’t always foolproof. Here are some factors to consider:
- Recipient’s email client: The recall feature works best if the recipient is also using Outlook.
- Email read status: The recall will fail if the email has already been read.
- Server settings: Certain server settings can prevent recalls from working.
Tips For Successful Email Recall
To increase your chances of a successful recall, keep these tips in mind:
- Act quickly: The sooner you recall, the better your chances.
- Use clear subject lines: It can help in identifying and recalling emails quickly.
- Check recall status: Always check the recall status to confirm if it was successful.
By understanding these aspects, you can efficiently manage your emails and avoid potential mishaps.
How To Recall Email In Outlook
Quickly recall an email in the Outlook mobile app by navigating to the sent items folder. Open the email, tap “Undo Send” within the available time frame to retract it.
Recalling an email in Outlook can save you from potential embarrassment or errors. Imagine hitting ‘Send’ only to realize you made a mistake. Fortunately, the Outlook Mobile App offers a recall feature to help you fix this. Let’s dive into how you can recall an email effectively using the app.
Check Email Eligibility
First, not all emails can be recalled. Here’s what you need to know:
- Recipient’s Email Server: The recipient’s server must support email recall.
- Unread Emails: Only unread emails can be recalled.
- Same Organization: Both sender and recipient should be in the same organization.
Steps To Recall Email In Outlook Mobile App
Follow these steps to recall an email:
- Open Sent Items: Navigate to the ‘Sent Items’ folder.
- Select Email: Tap on the email you wish to recall.
- More Options: Click on the three dots or ‘More’ option.
- Recall Option: Choose ‘Recall This Message.’
- Confirm Recall: Confirm your action to recall the email.
Considerations For Email Recall
Remember these points to maximize success:
- Speed Matters: Act quickly before the recipient reads the email.
- Notify Recipient: Inform the recipient about the recall attempt.
- Double-Check: Always double-check your emails before sending.
Alternatives If Recall Fails
If the recall fails, consider these steps:
- Send Correction Email: Apologize and provide corrected information.
- Call Recipient: Explain the error over the phone.
- Follow Up: Ensure the recipient understands the correction.
Understanding these steps ensures you’re prepared to handle email mistakes efficiently. Use these tips to navigate the Outlook Mobile App and maintain professionalism in your communications.

Credit: techcommunity.microsoft.com
Conclusion
Mastering email recall on the Outlook Mobile App can save you from embarrassing mistakes. Follow these steps to enhance your email management. Stay efficient and professional with this useful feature. Keep your communication smooth and error-free, ensuring you always put your best foot forward.